In this post, you will see how to setup nginx as a reverse proxy to gunicorn and how to use it to serve up static files in Django. In the previous post, I showed how to install and setup the gunicorn WSGI server. This time we’ll focus on nginx.
Nginx is a web server and reverse proxy that accepts requests from clients and decides how to serve them. In the case of Django, we’ll configure it to handle the Django static files and then proxy or pass requests for dynamic content to the gunicorn server.
Install Nginx
There are a couple of ways to install Nginx. The easiest method is to install it using a package manager. In Ubuntu, this looks like this:sudo apt-get install nginx
Once installed, nginx should automatically start and create a system service. If it doesn’t auto start, you can start it by running:sudo service nginx start
Setup Static Content
When you’re developing Django locally using the development server, static files are automatically served for you. Once you start using gunicorn, things change. Gunicorn knows nothing about handling static files, so we need to tell Django where to put them and Nginx where to find them. You can see this behavior if you run your project using gunicorn and attempt to view a page with static content such as the Django admin.
Start the gunicorn server with:
gunicorn myproject.wsgi
Navigate to http://localhost:8000/admin and you’ll notice that the page looks broken:
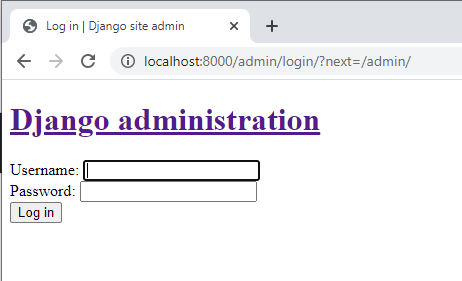
This is because gunicorn failed to serve the css and js files needed to make the page look pretty. To fix this problem we have to do two things:
- Configure a static files directory in Django
- Configure Nginx to serve files from this directory
Nginx can serve up pretty much any form of static content you point it to. The first step in serving up the static files is to add STATIC_ROOT path to your project’s settings.py file:
STATIC_URL = '/static/'
STATIC_ROOT =  "/home/vndlovu/django/static/"
The STATIC_URL is the URL Django will point to for all static files e.g http://example.com/static/. Static files include html, css, images, and Javascript files. The STATIC_ROOT line is a path to any folder where your project’s static files will be stored.
Once you have configured static files, run the collectstatic command to generate the default static files required by Django. If your project has any additional static files, place them in the folder you specified above.
python manage.py collectstatic
Type “yes” at the prompt that appears and Django will copy or generate all the static files you need to your STATIC_ROOT folder.
Configure Nginx
Create a configuration file for nginx. The location of this file depends on how you installed Nginx and what OS you’re on. A common location for nginx configs in Ubuntu Linux is /etc/nginx/sites-available/ If this directory doesn’t exist in your operating system, please check for the appropriate location for your OS in the nginx documentation. You can name the config file anything you like. For this example I will call it django. Use your favourite text editor to create the configuration file at /etc/nginx/sites-available/django and add the following configuration:
server {

        listen 80;
        server_name localhost;

         location /static/ {
             root /home/vndlovu/learning/django/;
         }

        location / {
            proxy_pass http://localhost:8000;
        }
}
This configuration is a very basic configuration that tells Nginx to listen on port 80, the default HTTP port for all requests coming to the server specified in server_name. You can use a domain name or server IP address here. The next line is a location block that tells Nginx where to find static files whenever the /static/ URL is hit. Notice that the location to the static file directory here is the same as the one specified in settings.py. This is very important.
The next location block will handle all requests to the root URL or in this case http://localhost/ . Nginx cannot handle dynamic WSGI content that will be generated by Python so in this block we tell it to proxy or pass the request to http://localhost:8000 where gunicorn is listening. In essence we’re telling Nginx not to handle dynamic requests but only handle static files and let gunicorn handle everything else. Save this file.
Next, activate the configuration by creating a symbolic link to this config in /etc/nginx/sites-enabled/. To do this, navigate to /etc/nginx/sites-enabled and create the symlink there:
cd /etc/nginx/sites-enabled/
sudo ln -s /etc/nginx/sites-available/django
The command above will create a shortcut or link to your configuration into the /etc/nginx/sites-enabled/ folder where nginx checks for what sites to enable. Reload Nginx to effect these changes:sudo service nginx reload
If the configuration is correct and there are no errors, Nginx should restart silently in the background.
Test
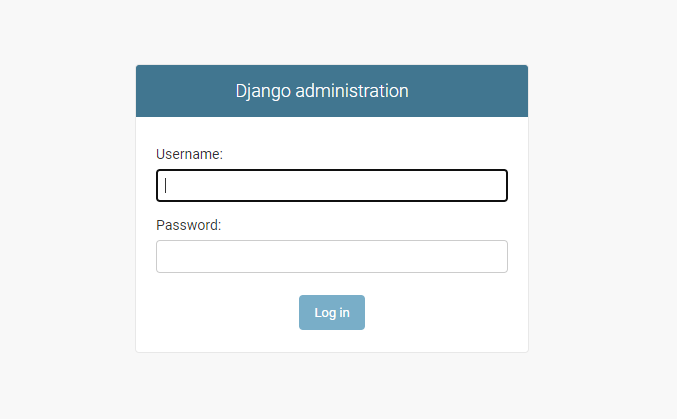
Test that Nginx can serve your Django website by navigating to http://localhost/. Notice that I didn’t add the 8000 port. That is because we configured Nginx to listen on port 80 and to pass any Django requests to port 8000. If everything went well, you should see the familiar Django Admin login screen:
Conclusion
In this post, you saw how to install and setup the Nginx web server to serve Django static files and act as a reverse proxy to gunicorn. These two web servers work very well together and can be used for production deployments. In a future article I will show you how to run Django in a Docker container.