Nginx is a piece of popular open source software used as a web server, reverse proxy, load balancer, mail server and more. In this post, I will show you how to install it on Linux.
There are two ways of installing nginx; using the system package manager or building it from source. I will cover both methods and the advantages of using each one.
Installing using a package manager
Installing nginx using the system package manager is a quick and easy way to setup nginx. In Ubuntu and Debian based distributions you install it this way:
sudo apt-get install nginxIn CentOS, you first install the extra packages ang then run the installation using the yum package manager:
sudo yum install epel-release
sudo yum install nginx
In Ubuntu, nginx will be automatically started once you install it. You can verify that the nginx process is running by running:
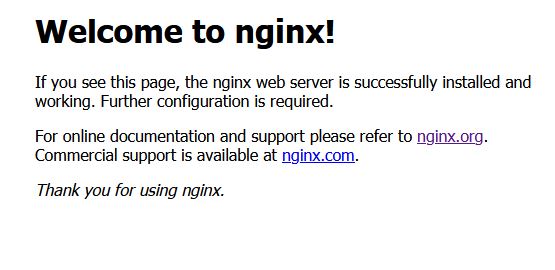
ps aux | grep nginxin the terminal or navigating to your server’s public IP address in the browser. If you’re installing this on a local machine, type in localhost in the address bar and hit enter. You should see something similar to this:
If you’re on CentOS you may find that the nginx server does not automatically start after installation. To install it do:
sudo service nginx startAs you can see from the above, installing nginx using the system package manager is pretty straight forward and is the easiest way to get nginx up and running.
The downside of using this approach is that the nginx that is installed through package managers is limited. Building nginx from source allows you to add additional modules to it to extend its functionality.
Installing nginx from source
To build nginx from source, you first need to update your system repositories. In Ubuntu you do it this way
sudo apt-get updatenext, install the required dependencies and dev tools:
sudo apt-get install build-essential

sudo apt-get install libpcre3 libpcre3-dev zlib1g zlib1g-dev libssl-dev
The equivalent commands for CentOS are:
sudo yum groupinstall "Development Tools"

sudo yum install pcre pcre-devel zlib zlib-devel openssl openssl-devel
Once you have the dev tools installed, the next step is to download, configure and compile nginx.
Compiling nginx
Visit the nginx website and copy the link to the latest version of nginx.

Next, download the nginx source code to a location on the computer using wget and exctract the contents of the tar ball:
wget http://nginx.org/download/nginx-1.21.0.tar.gz

tar -zxvf nginx-1.21.0.tar.gz
After extracting nginx, the next step is to configure it the way you like.Change directories into the directory you extracted to in the step above and run the following command. The command below will configure nginx using common settings as well as include an extra module for handling https:
sudo ./configure --sbin-path=/usr/bin/nginx --conf-path=/etc/nginx/nginx.conf --error-log-path=/var/log/nginx/error.log --http-log-path=/var/log/nginx/access.log --with-pcre --pid-path=/var/run/nginx.pid --with-http_ssl_module Run the command above. If there are any missng required dependencies, you’ll get notified at this stage. Install them and run the command again until there are no errors.
The options I passed in the command above:
sbin-path: This is the path to the nginx executable fileconf-path: Path to the configuration file that nginx will useerror-log-path: Path to where error logs will get storedhttp-log-path: Path to where access logs will get storedwith-pcre: Enables support for using the system regular expression librarypid-path: Comes in handy when you set nginx up as a system servicewith-https_ssl_module: This is a bundled module that you can setup when installing from source, used for enabling https.
You can find more options in the nginx documentation here.
After running configure, you’ll want to run
sudo maketo build or compile the code. Once this is done, run
sudo make installto install nginx.
If there were no errors, nginx should now be installed. Congratulations.