Introduction
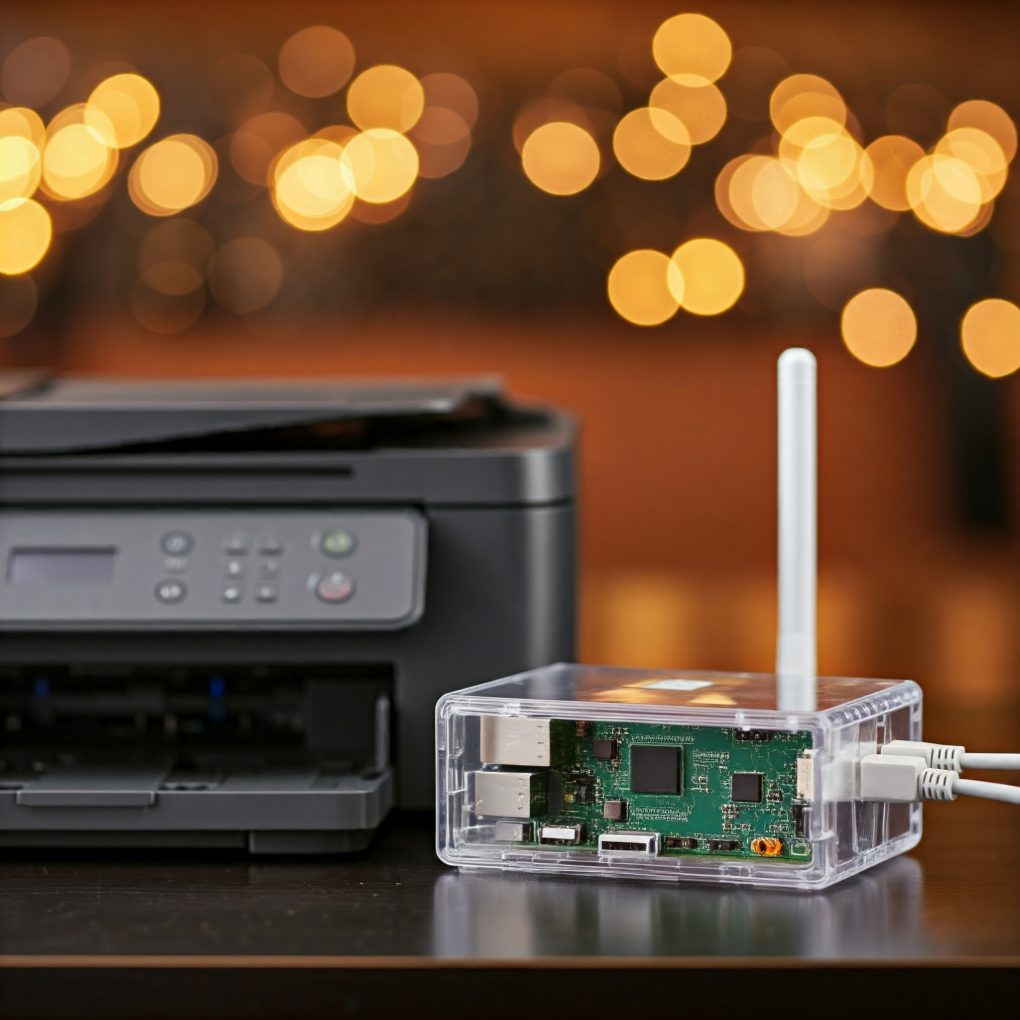
My wife and I share access to a basic multi-function USB-only printer in my office. Whenever one of us needs to print, we have to be physically in the office, and go through the process of turning the printer on, connecting it via USB and printing. Doing this every time got annoying, so I set up a print server using a Raspberry Pi in our network to allow printing over the network.
Turning a Raspberry Pi into a print server involves installing the printer drivers and setting up CUPS. CUPS stands for Common Unix Printing System and is an open-source standard that abstracts the complexity of setting up printers and printing documents in different applications. It enables printing and managing printers over the network and works on UNIX-like operating systems like Linux. The Raspberry Pi with CUPS print server software installed acts as a bridge between the USB-connected printer and the network, allowing other devices to discover and send print jobs to it.
Installation
I used a Raspberry Pi running the Raspberry Pi OS for this task. The first step I took to turn the Pi into a print server was to connect the Printer to it via a USB cable. Next, I installed CUPS and the printer drivers. Our printer is a Canon PIXMA MG2545s, Canon printers use a proprietary BJNP protocol developed by Canon to communicate with their printers over a network, so, to communicate with one, I needed to install the cups backend for Canon BJNP:
sudo apt-get install cups-backend-bjnp
This installs the cups-backend-bjnp package that takes care of the behind-the-scenes work of allowing CUPS to connect to a Canon printer. If your printer is a different make and model to mine, you’ll need to install cups-backends or Linux drivers for your model.
Next, install CUPS and configure it
Install the CUPS server software
sudo apt install cups
Copy the config file and protect it from writes
sudo cp /etc/cups/cupsd.conf /etc/cups/cupsd.conf.original
sudo chmod a-w /etc/cups/cupsd.conf.original
This step is similar to what you do when setting up Fail2ban configs.
Configuration
Add Listen address
Add a listen address to interact with the CUPS server via its web interface. Defaults to listening on localhost:
Listen 192.168.1.2:631   # Listens on Raspberry PI LAN interface, port 631 via IPP
Listen 127.0.0.1:631     # Listens on the loopback interface
Port 631                 # This is a catch-all rule. Listen on all interfaces
Restart Service
You can use the configuration file to modify other settings such as HTTPS, authentication options, and managing print jobs. After making changes to the service, restart it the CUPS service for the changes to take effect:
sudo systemctl restart cups.service
Add user to lpadmin group
The lpadmin group allows users to manage printers and print jobs, so adding a new user to it grants them administrative access to CUPS. Here’s how I created a new user and added it to the lpadmin group:
sudo adduser myprintuser

# Add a password for the newly created user
sudo passwd myprintuser
sudo usermod -aG lpadmin myprintuser
Access the Web Interface
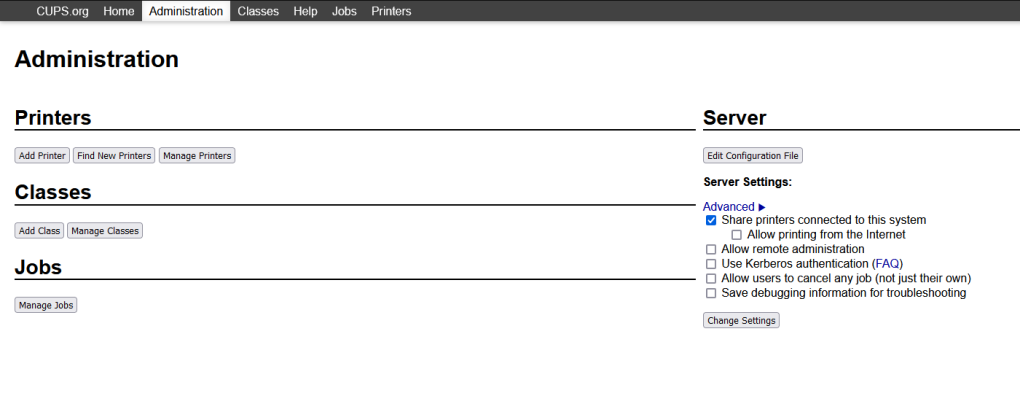
The CUPS web interface is reachable on <server_ip:631>. I navigated to the URL, logged in using the user I created above and navigated to the Administration section to add a new printer.

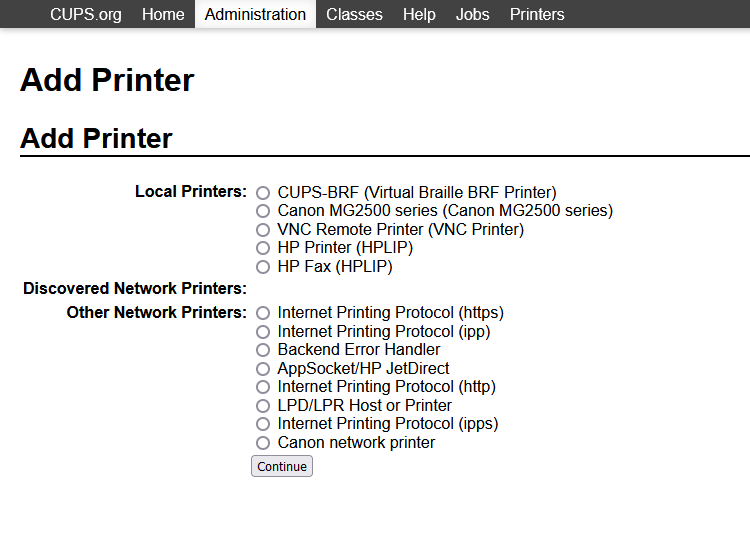
I clicked on “Add Printer” to add the printer and selected the Canon in the list of Local Printers

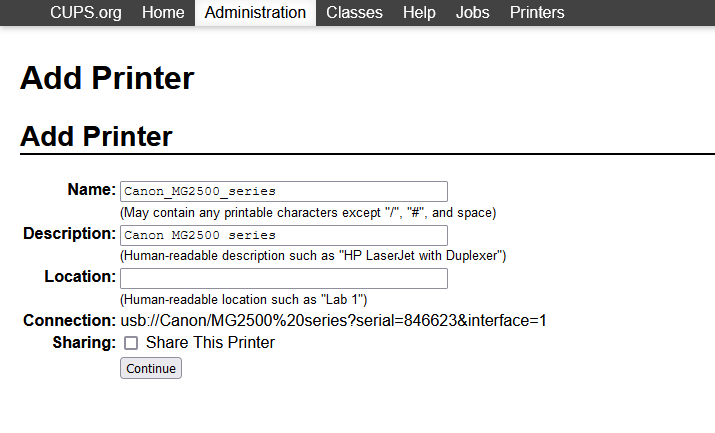
Next, I gave the printer a name and human-readable description. I checked the “Share This Printer” to make the printer available over the network.

Once the printer is added to CUPS, CUPS will announce the printer’s availability over the network via IPP (Internet Printing Protocol). This makes it easy for other devices to discover the printer and connect to it without having to manually configure IP addresses.
Add the printer on client devices
To add the printer to my Windows computer, I opened the Printers & scanners menu in the Windows Settings and clicked “Add a printer or scanner”, Windows searched for printers and automatically found it.
Conclusion
This is a nice and easy solution to share our printer over the network. Now, we can print wirelessly from our laptops, phones and other devices without having to physically connect devices to the printer first.
To secure your CUPS installation, I recommend taking the following steps:
- Use HTTPS for the domain the CUPS web interface listens on. Enforce HTTPS in the CUPS configuration. This ensures that all communication with the CUPS server is secure.
- Restrict access to the print server to trusted IPs in the network. Doing this ensures that only devices you know can print.
- Place the CUPS web interface behind a reverse proxy.
