Series Navigation:
- A Step-by-Step Guide to Setting Up Your Git Repository and Pipelines (this article).
- Automating DevOps with Bitbucket Pipelines: Configuring Triggers and Branch Protection Rules
- Automating DevOps with Bitbucket Pipelines: Setting up Deployment Servers
Introduction
This is the first in a series of posts I’m making on DevOps with BitBucket. In this post, you’ll learn how to set up a git repository and CI/CD pipelines or workflows in BitBucket.
CI/CD, short for Continuous Integration and Continuous Delivery/Deployment is a set of practices for building and deploying software in an automated and reliable way.
Continuous Integration refers to the practice of integrating code changes frequently. Each time code is pushed to a shared repository, the code is built into a deployable artifact like as an executable, library, or script. The build artifact or code goes through a series of checks and unit tests to identify issues early on. These checks happen early to provide immediate feedback to developers.
Create a repository
Login to BitBucket and navigate to your workspace and do the following:
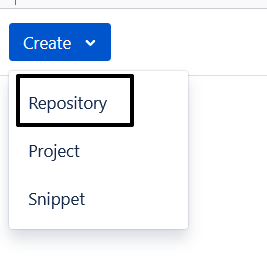
- Select “Create” button and select “Repository“.
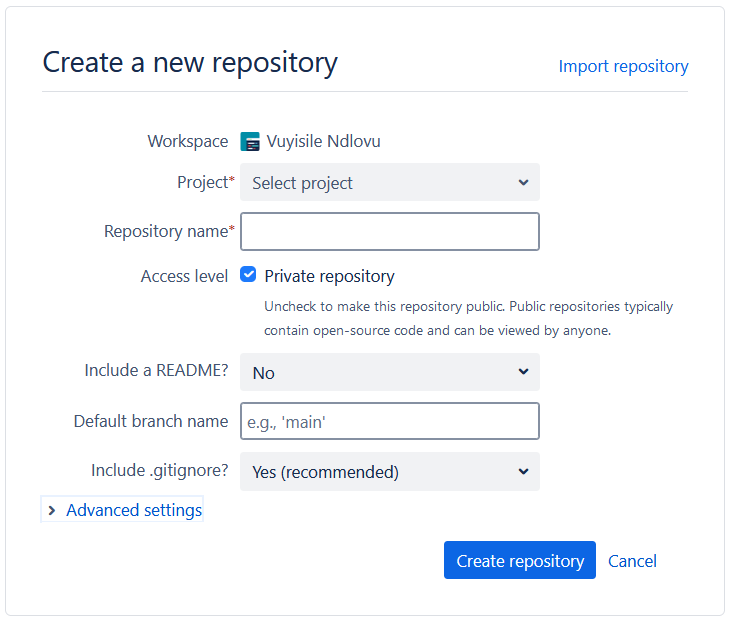
- Fill out information about your project in the “Create a new Repository” screen.
Copy your project files into BitBucket
- To clone your repository to your local computer, do the following:
- Change directory into the project directory:
cd project_pathwhereproject_pathis the path to your project. - Navigate to your repository in the BitBucket workspace, and select the “Clone” button near the sidebar on the right. Clicking it will pop up a dialog with a command to run on your local computer.
- Change directory into the project directory:
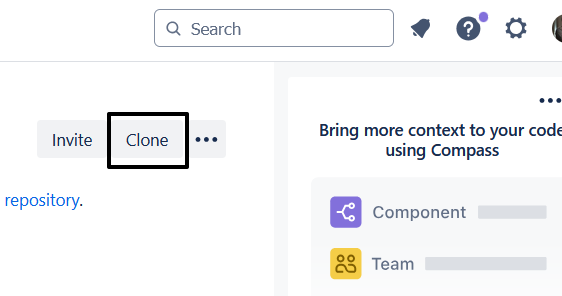
- Copy the clone command, paste it in your terminal and hit the
Return/Enterkey - Enter a password if asked for one.
- The BitBucket project is empty at this point, but it contains metadata about itself such as the project name, any branches you’ve created and it’s directory structure. Running
git clonefetches this information and creates a copy of the project on your local computer. After cloning the project, it’s time to add files to it and make git aware of them. You do this by runninggit addandgit commit:git add file1.txtgit add file2.txt
Runninggit addprepares the files you’ve changed to be snapshotted.- When you’re done, run
git commit -m "initial commit". This commits the files to git or in other words, creates a snapshot of your repository at the point in time you ran it.
- The next step is to upload your code to BitBucket. You do this using the
git pushcommand: - Run
git push origin master. The push command copies over your changes to themasterbranch in your repository on BitBucket. Use a different branch name in the to push to a different branch. - Go to BitBucket repository to see your newly added files.
Enable BitBucket Pipelines
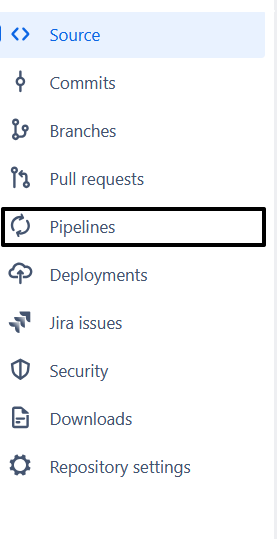
To take advantage of BitBucket’s CI/CD features, you’ll need to enable Bitbucket Pipelines. Pipelines allow you to automatically build, test and deploy your code based on rules you define in a YAML configuration file.
Tip:
BitBucket offers only 50 build minutes per month for free plans. To get the most out of them, consider using a paid package and/or optimising your pipelines to run your steps in parallel and keeping build triggers to a minimum.
Create a Pipeline
BitBucket expects to find Pipelines defined in YAML format in a bitbucket-pipelines.yml file in your local repository. These files can be created easily using the BitBucket-provided templates for different languages and frameworks.
Here’s an example of a Pipeline file based on their Python template to test, lint and deploy a Python project:
#  Template python-build

#  This template allows you to validate your python code.
#  The workflow allows running tests and code linting on the default branch.

image: python:3.8
pipelines:
  default:
    - parallel:
      - step:
          name: Test
          caches:
            - pip
          script:
            - if [ -f requirements.txt ]; then pip install -r requirements.txt; fi
            - pip install pytest
            - pytest -v tests/* --junitxml=test-reports/report.xml
      - step:
          name: Lint code
          script:
            # Enforce style consistency across Python projects https://flake8.pycqa.org
            - pip install flake8
            - flake8 . --extend-exclude=dist,build --show-source --statistics
      - step:
          name: Deploy to test
          deployment: test
          # trigger: manual  # Uncomment to make this a manual deployment.
          script:
            - echo "Deploying to test environment"
Let’s break the pipeline down:
Choose a Docker Image
image: python:3.8: Specifies the Docker image used for pipeline execution. BitBucket runs pipelines in Docker containers in the cloud. These containers are spun up each time your pipeline runs and run the steps defined in the pipeline yaml files to build, test and deploy your code in a fresh environment. The image property specifies the docker image to use to for this pipeline. You can reference images in public Docker registries as well as those from private registries.
Install Dependencies and run unit tests
pipelines: Defines the build steps for a repository. The next step introduces the pipelines property. Here, you define the conditions that must be met to trigger a pipeline run as well as how pipelines should be run. In the case below, the default pipeline runs a step called “Test” that installs dependencies defined in a requirements.txt file, caches them for reuse in future pipeline runs and runs unit tests using pytest:
pipelines:
  default:
    - parallel:
      - step:
          name: Test
          caches:
            - pip
          script:
            - if [ -f requirements.txt ]; then pip install -r requirements.txt; fi
            - pip install pytest
            - pytest -v tests/* --junitxml=test-reports/report.xml
Lint code
The next step; “Lint code” installs [flake8](https://flake8.pycqa.org/en/latest/), a Python tool to check Python code style and runs it against the project. As you can see, the commands listed in the script section of pipelines are commands you would normally run in the terminal to test or lint your application.
      - step:
          name: Lint code
          script:
            # Enforce style consistency across Python projects https://flake8.pycqa.org
            - pip install flake8
            - flake8 . --extend-exclude=dist,build --show-source --statistics
Deploy Code
The last section, defines a step to deploy the code to a test environment. The step in our example doesn’t do an actual deployment but echoes the message “Deploying to test environment”. You’ll want to modify this section to add specific steps to deploy in your environment. I’ll cover deployment in an upcoming article.
      - step:
          name: Deploy to test
          deployment: test
          # trigger: manual  # Uncomment to make this a manual deployment.
          script:
            - echo "Deploying to test environment"
BitBucket provides pipeline templates for various technologies, apps and cloud providers. You can find the full list of supported services and languages in their docs.
Pipelines can be validated using BitBucket’s online validator
View Pipeline Runs
When a pipeline is triggered, you can view its status in the “Pipelines” section of your repository:

- Access the Pipeline history view
- See the Pipeline status bar
- View Pipeline logs
- Expand log screen size
Conclusion
In this article, you saw how to set up a git repository in BitBucket, copy files, and create Pipelines to run tests and deployments. In the next article, I cover how to protect your git branches, enforce rules on how Pipelines are run and focus on how to do the “CD” part of CI/CD; I’ll discuss deploying a Python project to different servers.
